How to change email storage folder in Windows Live Mail
Back To Online Support
This guide will show you how to change the email storage folder in Windows Live Mail
If your C: drive starts to run out of space, one of the most frustrating experiences can be figuring out what can be deleted or moved to another drive in order to free up storage.
If you are using Windows Live Mail it will store your email by default on your C: drive. If you like to save almost all of your email, then your Live Mail store can grow to a very large size which will fill up your hard drive.
Using the steps below, you can move your Windows Live Mail storage folder to another drive.
Step 1:
The first step in moving your mail store is to start Windows Live Mail.
Once the program has started click on the on the program's menu, which is found in the upper left hand corner of the program as shown below.

Step 2:
Once the menu is open click on the Options section and then click on the Mail menu option.
This will open the General tab of the Mail options screen.
lease click on the Advanced tab and you will be shown a screen similar to the one below.
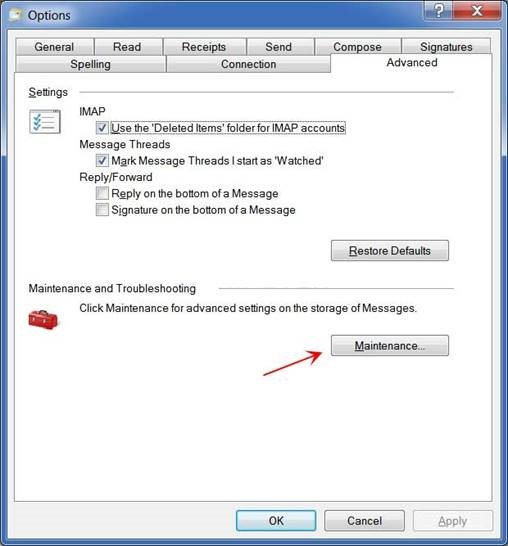
Step 3:
Now click on the Maintenance option as indicated by the red arrow in the image above.
This will bring you to the Maintenance settings screen.
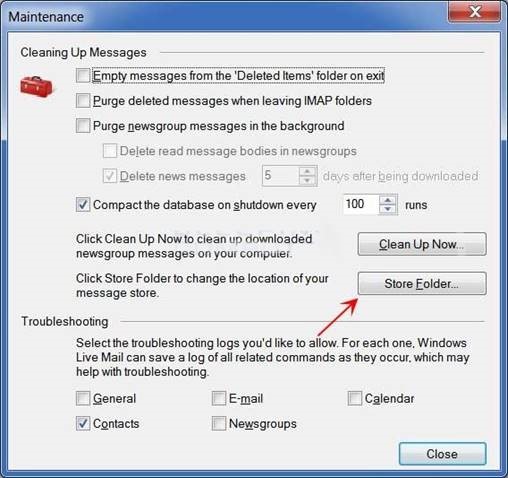
Step 4:
Now click on the Store Folder option. This will open a small dialog box that shows the path to the current mail store folder.
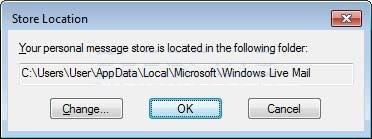
Step 5:
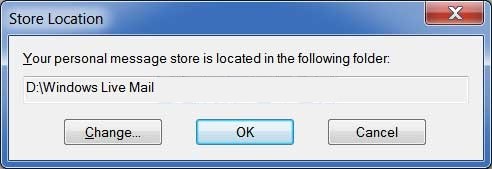
On the above screen we can change the location that Windows Live Mail stores its email.
To do this, click on the Change button and you will now be presented with a Browse For Folder dialog box where you can select the new location for the mail store.
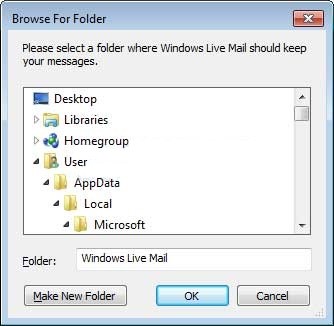
Step 6:
Browse to an existing location that you wish to move your mail to or create a new folder.
Once you are done, click on the OK button.
You will now be shown the Store Location dialog box with the new path that you selected.
Step 7:
To have Windows Live Mail use this new folder, click on the OK button.
Once you click on the OK button, you will be shown a prompt that states you need to restart Windows Live Mail for these changes to go into effect.
Click on the OK button in this prompt and then close Windows Live Mail.
Once you close Windows Live Mail, the program will automatically copy all your existing mail and mail folders to the new location.
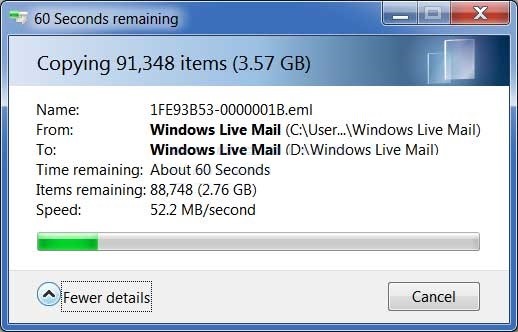
Once it is done, you can start Windows Live Mail again and the program will now be storing your mail in the new location.
Should you need assistance, please feel free to contact our Support Team on 010 555 0650.
Regards,
The iSAT Team
Back to top