How to create a Twitter account
Back To Online Support
Step 1:
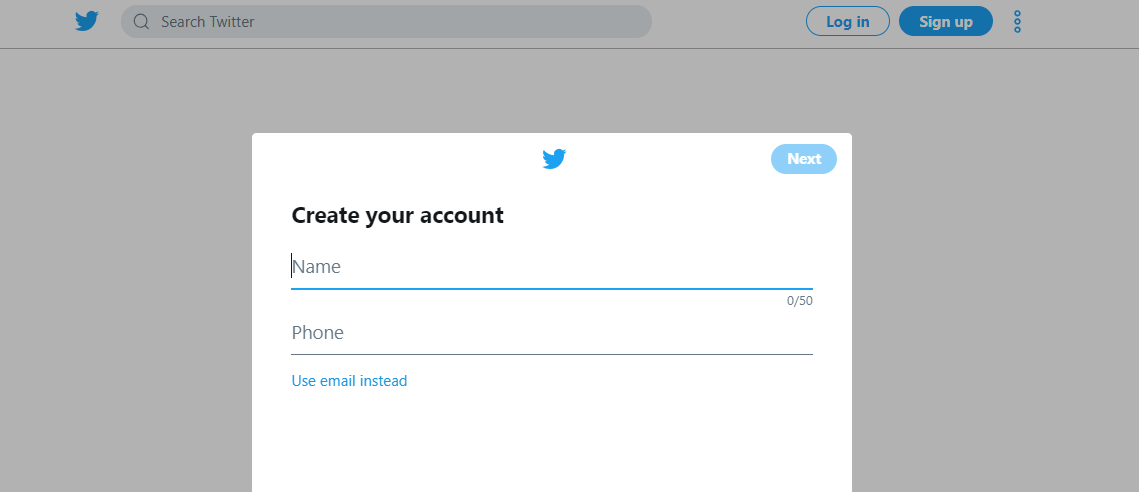
Go to the Twitter website, where you will see a sign-up form on the homepage.
Step 2:
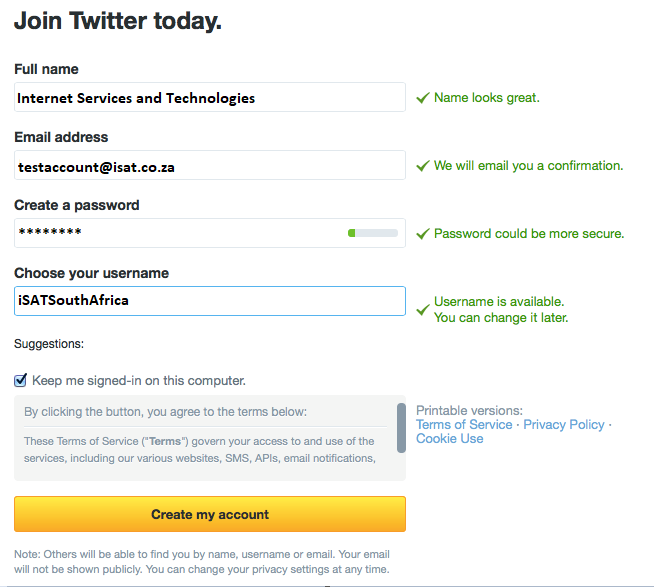
Enter your full name, email address and a password. Click Sign up for Twitter.

Step 3:
Twitter will automatically suggest a ‘username’ based on the name you entered on the first sign-up form. However, you can change this to a different name if you want to.
If Twitter is happy with the information you have entered, a green tick will appear alongside each field. If not, a red cross will appear and prompt you to change the information you have entered.

Step 4:
Enter a password that isn’t too easy to guess – avoid birthdays and your children’s names. The strength of the password entered is graded by Twitter. Entering an easy password such as ‘password’ will trigger a prompt for you to enter something more secure.
Step 5:
Enter your valid email address. This is how Twitter will contact you to alert you to new ‘followers’ or private direct messages. Your email address is not available for people to see on the site.
Step 6:
When you’ve finished entering all the necessary information, click Create my account.
Step 7:
Twitter will now take you through a short tutorial, which includes suggestions of who to follow based on your email contacts and other popular accounts.

Step 8:
You will receive an email from Twitter asking you to click a link to validate your account. It's important to do this as soon as possible, as you may not be able to use all the features until you are validated.
Step 9:
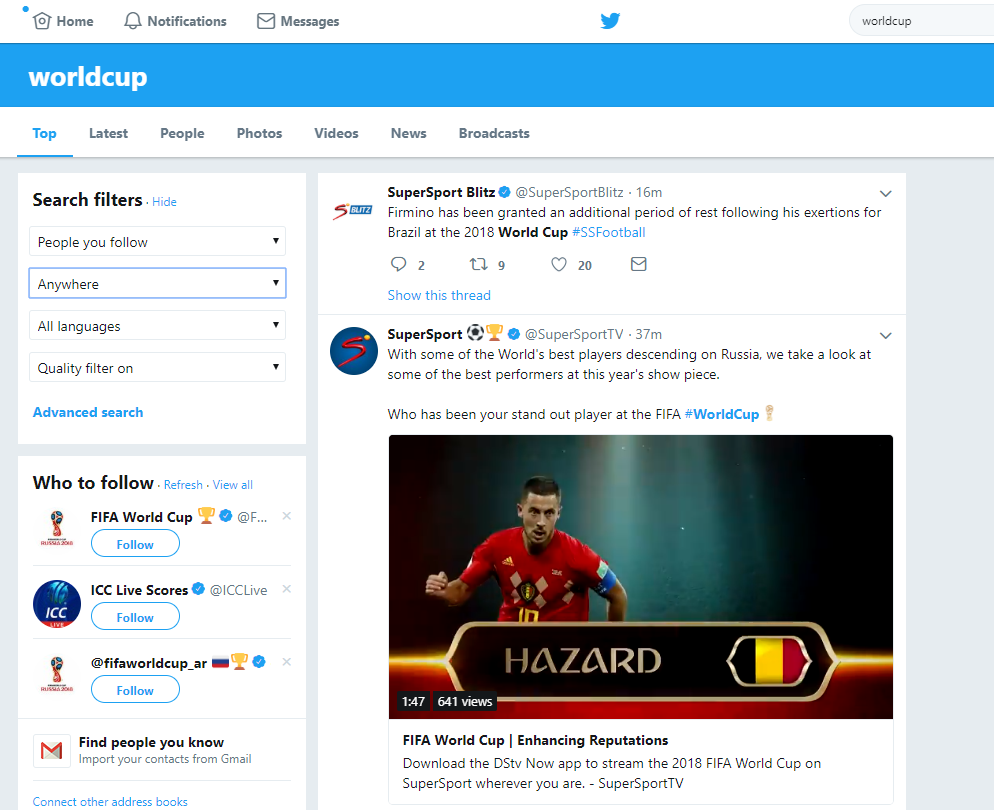
If you know of a Twitter user by name that you would like to follow – a person, company or any other organization, such as Digital Unite – enter that name into the search box and click Search. You’ll receive a list of possibilities, including people and tweets containing your search terns.

To see only people and organisations - rather than content of all kinds - click People you follow on the left hand side.
If you recognise the person or organisation you’re interested in, click Follow next to their search result.

Step 10:
You’ll now see your timeline ,more commonly known as your ‘Twitter stream’. This will show tweets from the accounts you follow as they are posted.
Items listed under ‘Worldwide Trends’ show what’s currently popular on Twitter, not just who you are following. You can choose which region’s trends this area displays by clicking Change and picking the most relevant area to you.

To look at the details of a specific account that you’re following, click their name or the picture accompanying the name and their profile information will pop-up.

Step 11:
Any ‘mentions’ (people tagging your Twitter name in their tweets), new ‘followers’ (people subscribing to your tweets) or ‘retweets’ (another user sharing your tweet with their followers) will appear in Twitter’s ‘Notifications’ section.

Step 12:
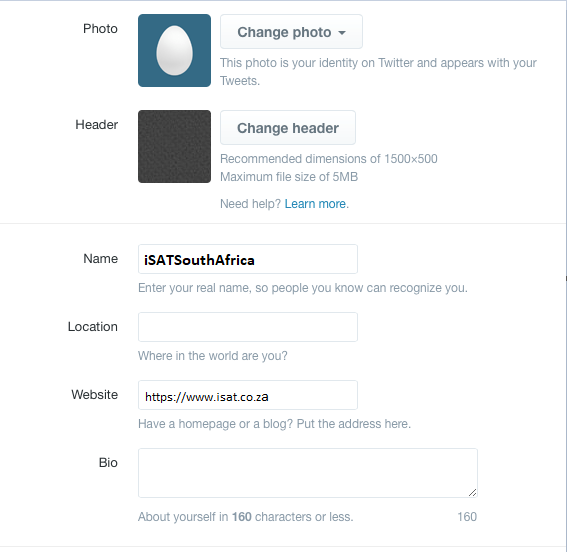
You can edit your profile information, set a new image to appear as your avatar, or even change the background on your page at any time, by clicking on the cog icon in the right-hand corner of any page and selecting Edit profile.

Step 13:
Personalising your profile will allow you to tell prospective ‘followers’ a little bit about yourself, including your ‘Location’ and a brief ‘Bio’, explaining who you are and/or what your interests are.

Click Save changed when you have finished.
Follow us @iSATSouthAfrica
Back to top