Mailbox Setup (Android) - IMAP
Back To Online Support
How to setup your iSAT mailbox as an IMAP account on an Android device
IMAP allows you to check your emails from different devices , such as your phone, laptop and tablet.
All emails will sync with the server across all your devices.
Please note your all your devices will need to be setup as IMAP accounts.
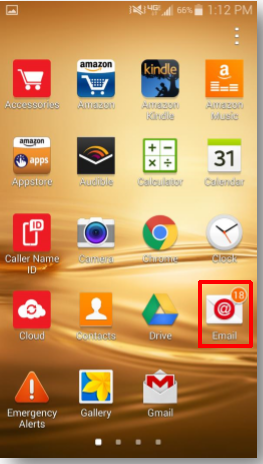
Step 1:
Open email application.
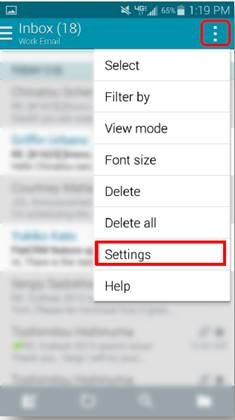
Step 2:
Select the three vertical dots at the top-right of the screen. This will bring down the drop-down menu.
Then choose Settings.
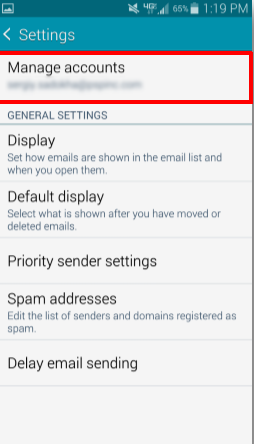
Step 3:
Select Manage accounts
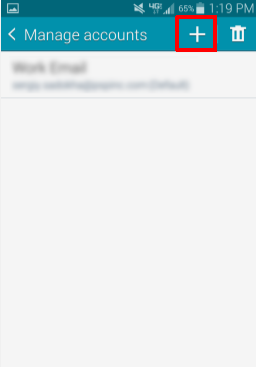
Step 4:
Click the “+” icon located to the left of the trash icon.
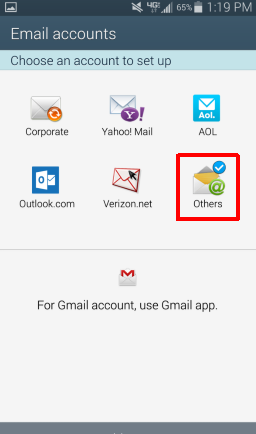
Step 5:
Select Others
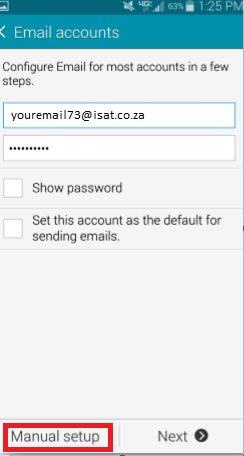
Step 6:
Enter email address and mailbox password, then tap Manual setup.
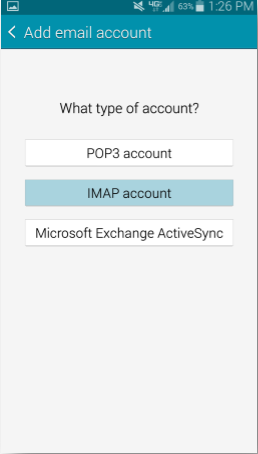
Step 7:
Choose IMAP account
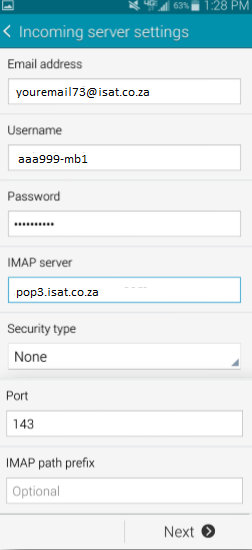
Step 8:
Enter mailbox username (username will be auto-filled with email address), port is 143 (this is the default incoming mail server port number for IMAP)
Security type should automatically be set to None.
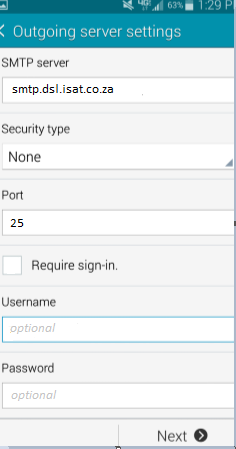
Step 9:
Enter the relevant smtp server according to the service provider you are using, i.e. iSAT, MTN, CellC, Vodacom. The port is 25 and make sure that Require sign-in is not selected.
Note!! DO NOT TICK THE REQUIRE SIGN-IN BOX.
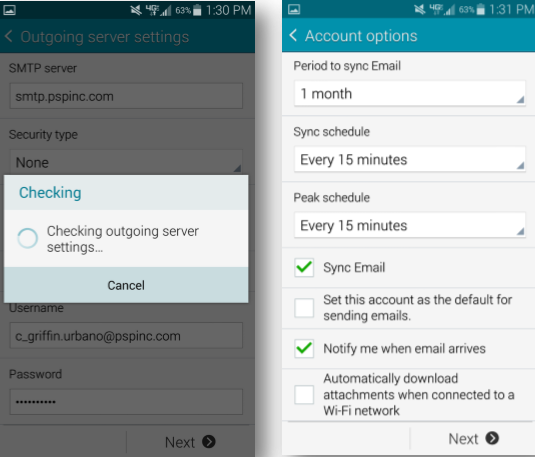
Step 10:
It will take several seconds to check the outgoing server settings. After that screen, you will be able to configure how often your e-mail syncs and other settings.
Select Next.
Step 11:
You may give your account any name and customize what is name is displayed on outgoing messages.
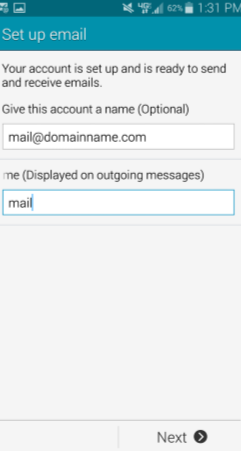
Once you tap “Next” your account setup will be completed and mail should start to download.
If you have any problems setting up your Mail account please feel free to call us on 010 555 0650.
Regards,
The iSAT Team
Back to top